TL;DR
Three ideas before you begin
- Extract fully and select the directory containing manifest.json
- Recheck any new permission or version change
- Disable first and preserve diagnostics when something is wrong
Before you start
Prepare the inputs
- Use a currently supported Chromium browser
- Obtain the extension package from the official RelayX delivery entry
- Prepare a separate work browser profile
Step 1
From “Verify source and version” to “Extract fully to a stable folder”
To produce “A traceable, permission-reviewed Semrush extension setup that launches correctly”, make “Verify source and version” and “Extract fully to a stable folder” a reviewable starting point. Every later filter and judgment should preserve this scope.
- 1.1
Verify source and version
Download from the current order, subscription, or help entry and record filename, version, and time; do not use chat or drive forwards.
- 1.2
Extract fully to a stable folder
Do not load from inside the archive. After extraction, locate the folder that directly contains manifest.json.
Package source, version, and manifest root folder are traceable.
Step 2
“Load from the extension manager”, then “Pin the icon and review permissions”
Keep only the evidence needed for “Load from the extension manager” and “Pin the icon and review permissions”. Record why each filter changes so the result remains reproducible instead of becoming an unexplained screenshot.
- 2.1
Load from the extension manager
Open chrome://extensions, enable Developer mode, choose “Load unpacked,” and select the manifest folder.

Locate Developer mode and the Load unpacked entry. Markers- 1 Load unpacked
- 2 Developer mode
Enable Developer mode only for a trusted and complete local package. Select the directory that directly contains the manifest file when loading.
Source: Chromium extensions management page - 2.2
Pin the icon and review permissions
Confirm name, version, and enabled state, map each permission to the session-launch function, and then pin the icon.
The extension is enabled, visible, and every permission is explainable.
Step 3
“Test launch from the official RelayX entry” and “Troubleshoot by symptom instead of repeated reinstall”
Do not stop at tool output. Use “Test launch from the official RelayX entry” and “Troubleshoot by symptom instead of repeated reinstall” to verify quality, limitations, and ownership so “A traceable, permission-reviewed Semrush extension setup that launches correctly” becomes actionable.
- 3.1
Test launch from the official RelayX entry
Close unrelated tabs and launch once from the dashboard, confirming the target opens without requesting unfamiliar credentials.
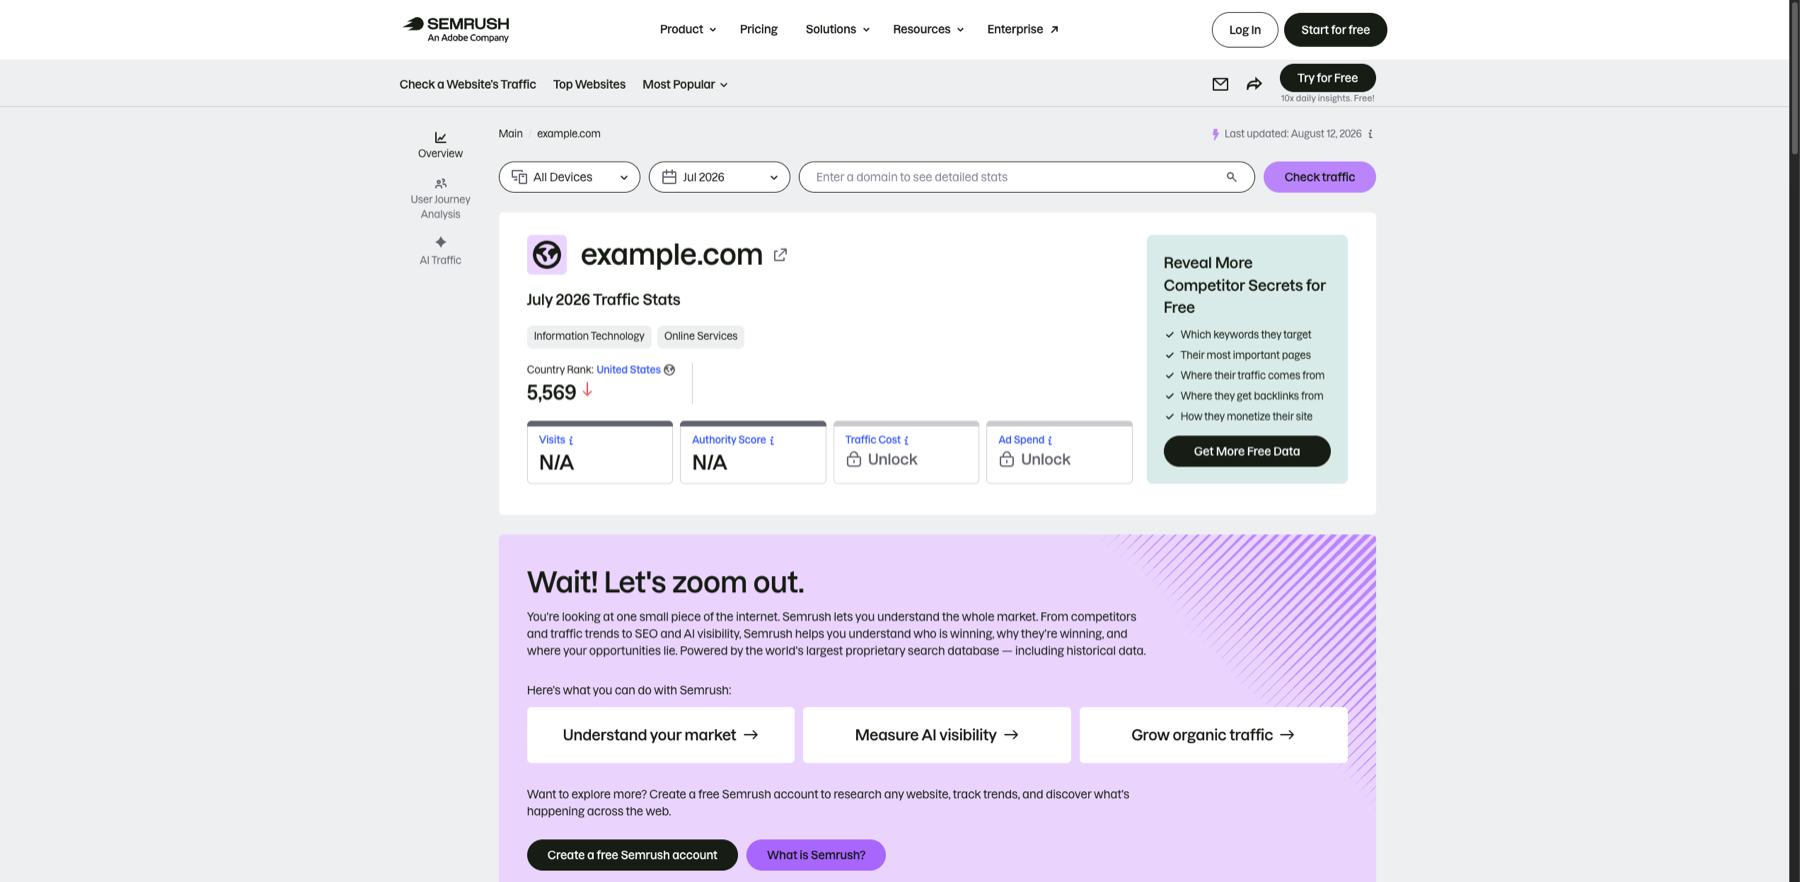
After launching the extension, use a real Semrush page for the minimum viability check. Markers- 1 Device scope
- 2 Observation month
- 3 Domain input
- 4 Run query
Fix the device, month, and domain scope before reading the data. Locked fields are unavailable at the public access level and must not be inferred.
Verify source: Semrush official website traffic overview - 3.2
Troubleshoot by symptom instead of repeated reinstall
For a missing manifest choose the correct folder; for a missing icon check enabled and pinned status; for session failure record message, version, and time before contacting support.
The launch test passes, or sufficient redacted diagnostics are preserved.
WHO · HOW · WHY
How this guide was written and reviewed
- Who
- Independently written and manually reviewed by the RelayX Editorial Team, with update and capture dates shown on the page.
- How
- Use least privilege, recoverable actions, and current product state as the baseline. Verify source, version, backup, and rollback paths before installing, authorizing, or deleting anything.
- Why
- The goal is not to restate product features but to help you produce “A traceable, permission-reviewed Semrush extension setup that launches correctly”. The workflow is organized around that outcome with checkpoints, limitations, and next actions.
Interface captures come from official accessible product pages or the current browser interface. Each appears under its matching step with numbered controls and data points. When real functional UI cannot be publicly verified, the guide says so instead of using a marketing homepage as filler. No third-party tutorial text or imagery is reused; third-party brands and interface rights remain with their respective owners.